Everyone says "Happy 'Bert-day'", but what about Ernie? He should get some recognition too. After all, someone can only write "Birthday" so many times in an hour...

But back to cake.
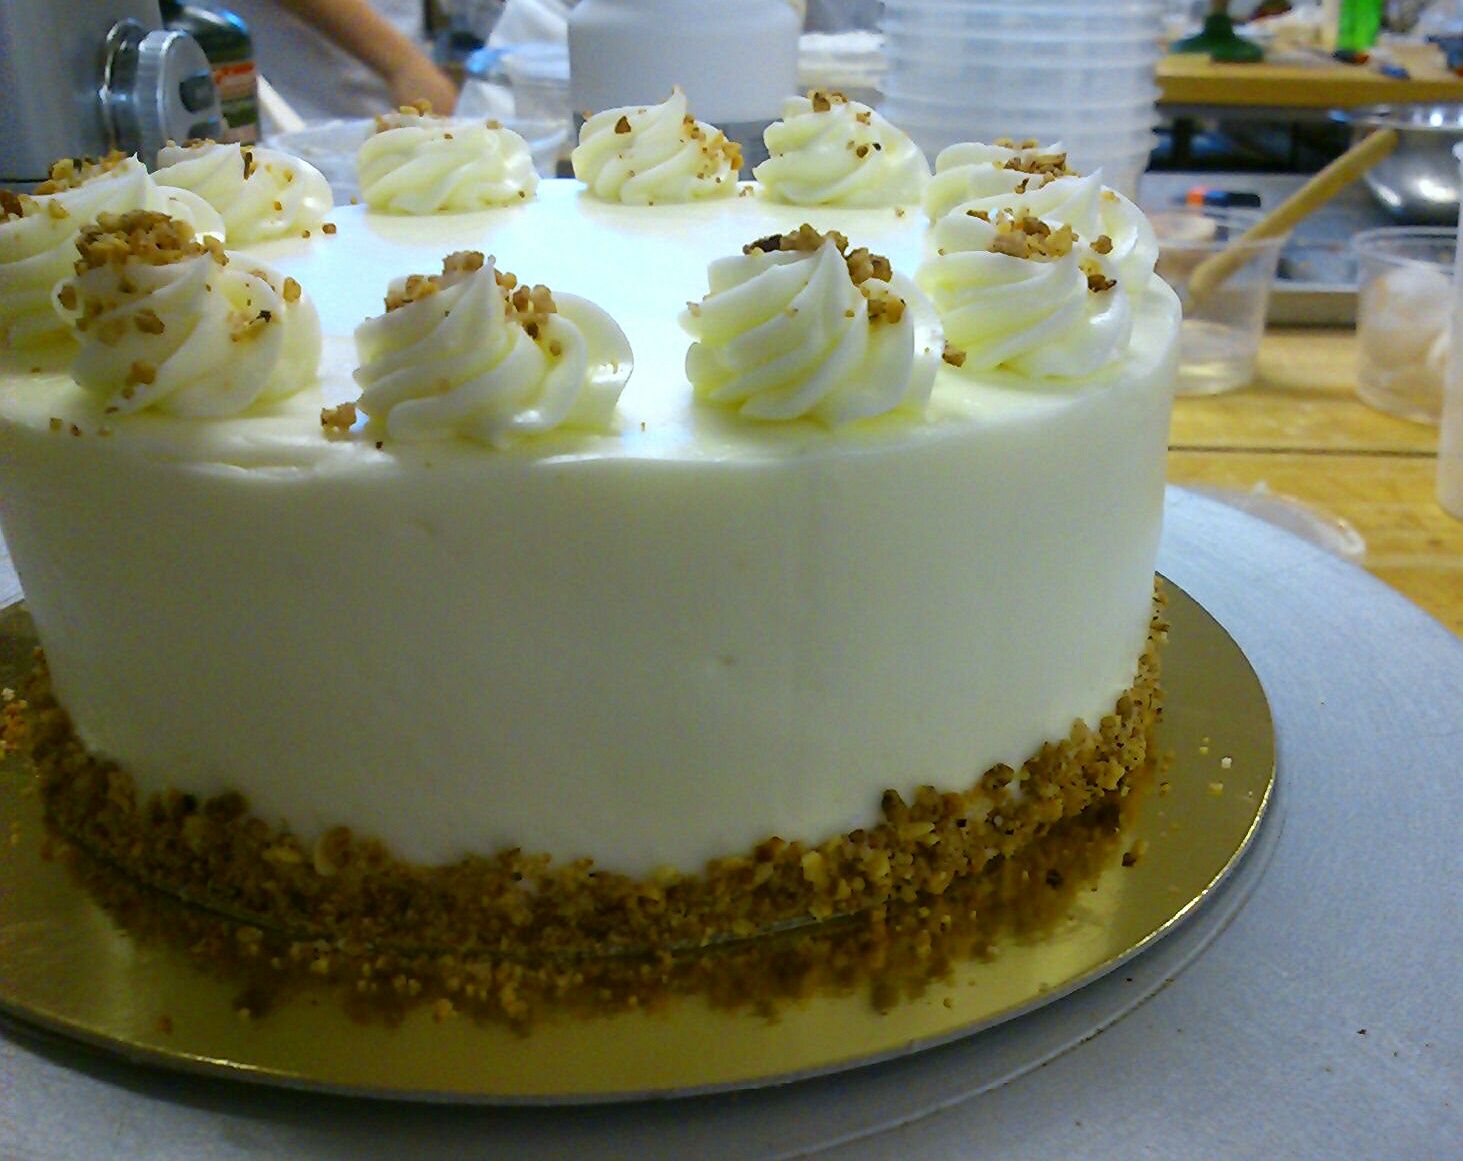
Remember those giant sheets of carrot cake? We quickly cut them up, trimmed them, and filled them with a fluffy cream cheese frosting. Yum! :)


Each slice got topped with a pre-made marzipan carrot and a sprinkle of praline crunchies. In the background is a picture of the giant cake scrap bucket filled with all those scrumptious carrot cake trimmings, complete with cream cheese frosting. Anything we did not eat (read: could not possible eat any more) will get mixed with other cake scraps and turned into rum balls later in the year.

The cake of the day today was strawberry shortcake! Did you know the original shortcake wasn't so much a cake as it was a biscuit (or scone as we call it in North America)? The earliest recipe that is associated with strawberry shortcake is a European biscuit split open and filled with strawberries. My favourite, by far, is the Japanese rendition of strawberry shortcake - layers of sponge cake filled with whipped cream and strawberries, and topped with a whole strawberry! Simple, light, and delicious!
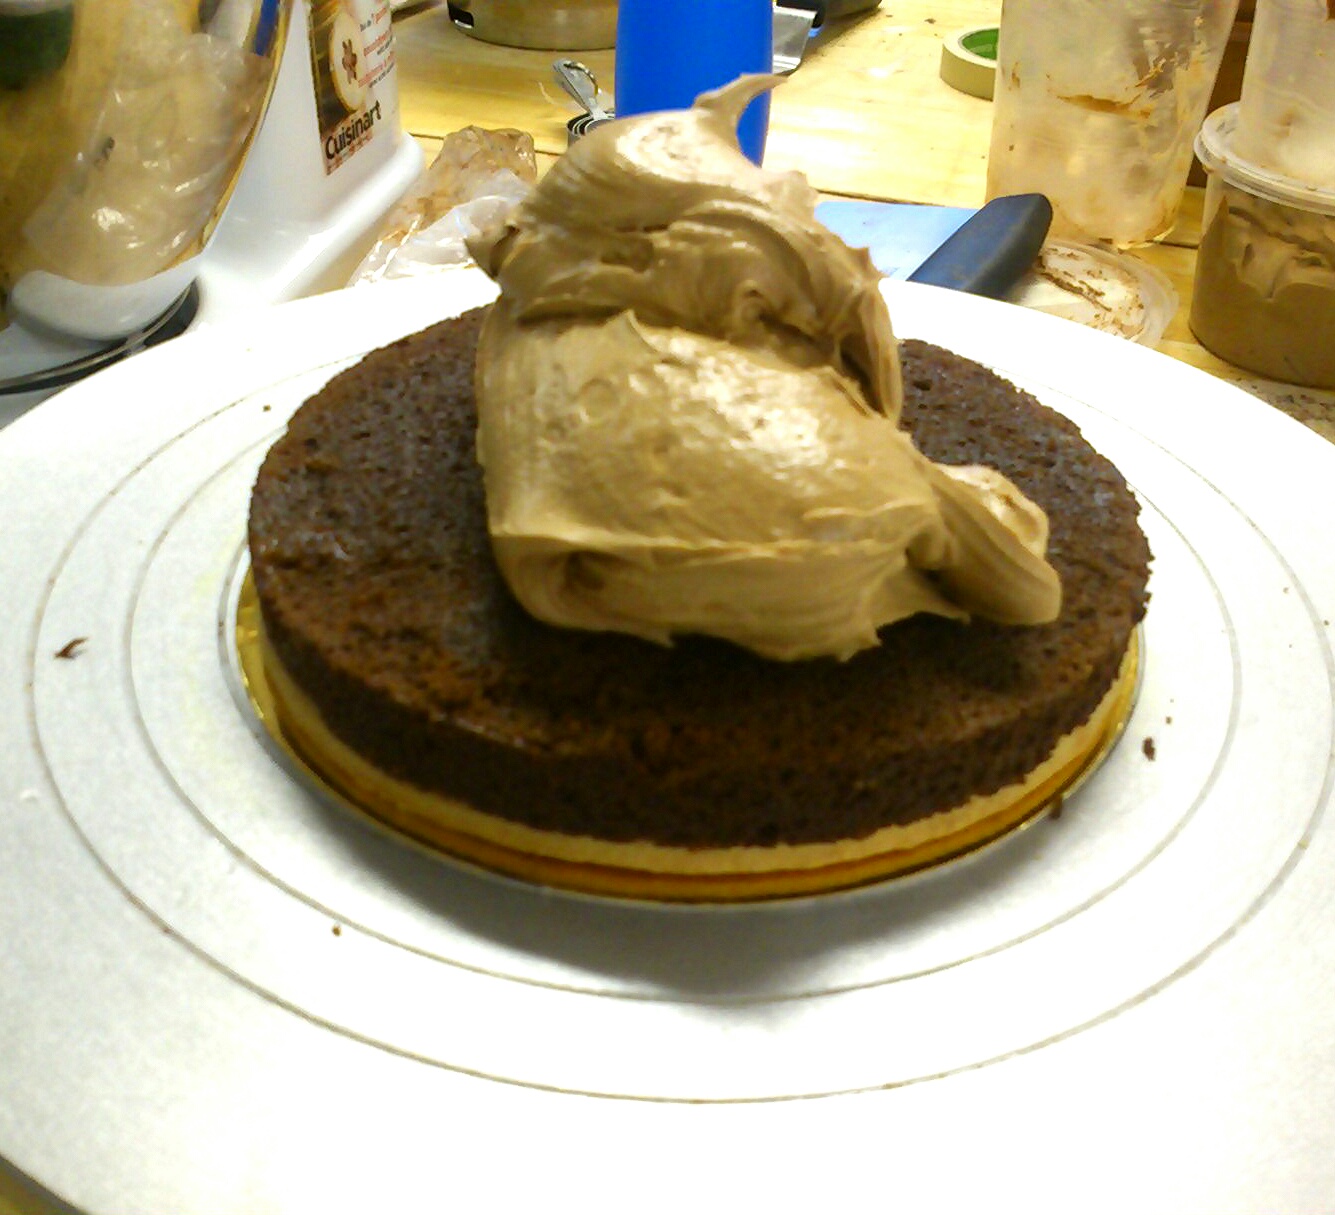
Making the cake batter was a bit of a disaster. After whipping the batter in the Kitchen Aid it came out so intensely velvety smooth I had the urge to lick it...and forgot to add my oil. :P I poured the batter into the prepared cake pans and was just about to put them into the oven when I looked at V. She had also panned her cakes and just realized she had forgotten her oil. That's when I realized I did too! I looked at S and told her I forgot it and you know what? So did she! We were all scrambling to pour the batter back into a bowl, add the oil, and reportion it all the while trying to lose as little air as possible. See, before portioning, we had to keep checking our specific gravity and we three very nicely fit into the 0.45 to 0.5 range required. By having to handle the batter so much and mixing in oil, we were all afraid our specific gravities would be completely messed up. Oh well, into the oven and we'll see what happens. :P
 |
| 16 mixers whipping at high at the same time = very noisy! |
 |
| Calculating specific gravity |
The cakes came out beautifully despite the mix up and we turned them into beautiful and delicious strawberry shortcakes. S took hers home because she loves strawberry shortcake. I suspect she will eat most of it all by herself. :P

You can see the piece of cake trimming I was snacking on in the background near the strawberry stems. The crusts are the best parts as they have concentrated carmelized flavour. It's too bad they get cut off. But not to worry! I shall eat them! Waste not want not, right?

We also practiced piping buttercream roses today as it will be on our next piping exam.
 |
| Start with a bud |
 |
| Add some petals |
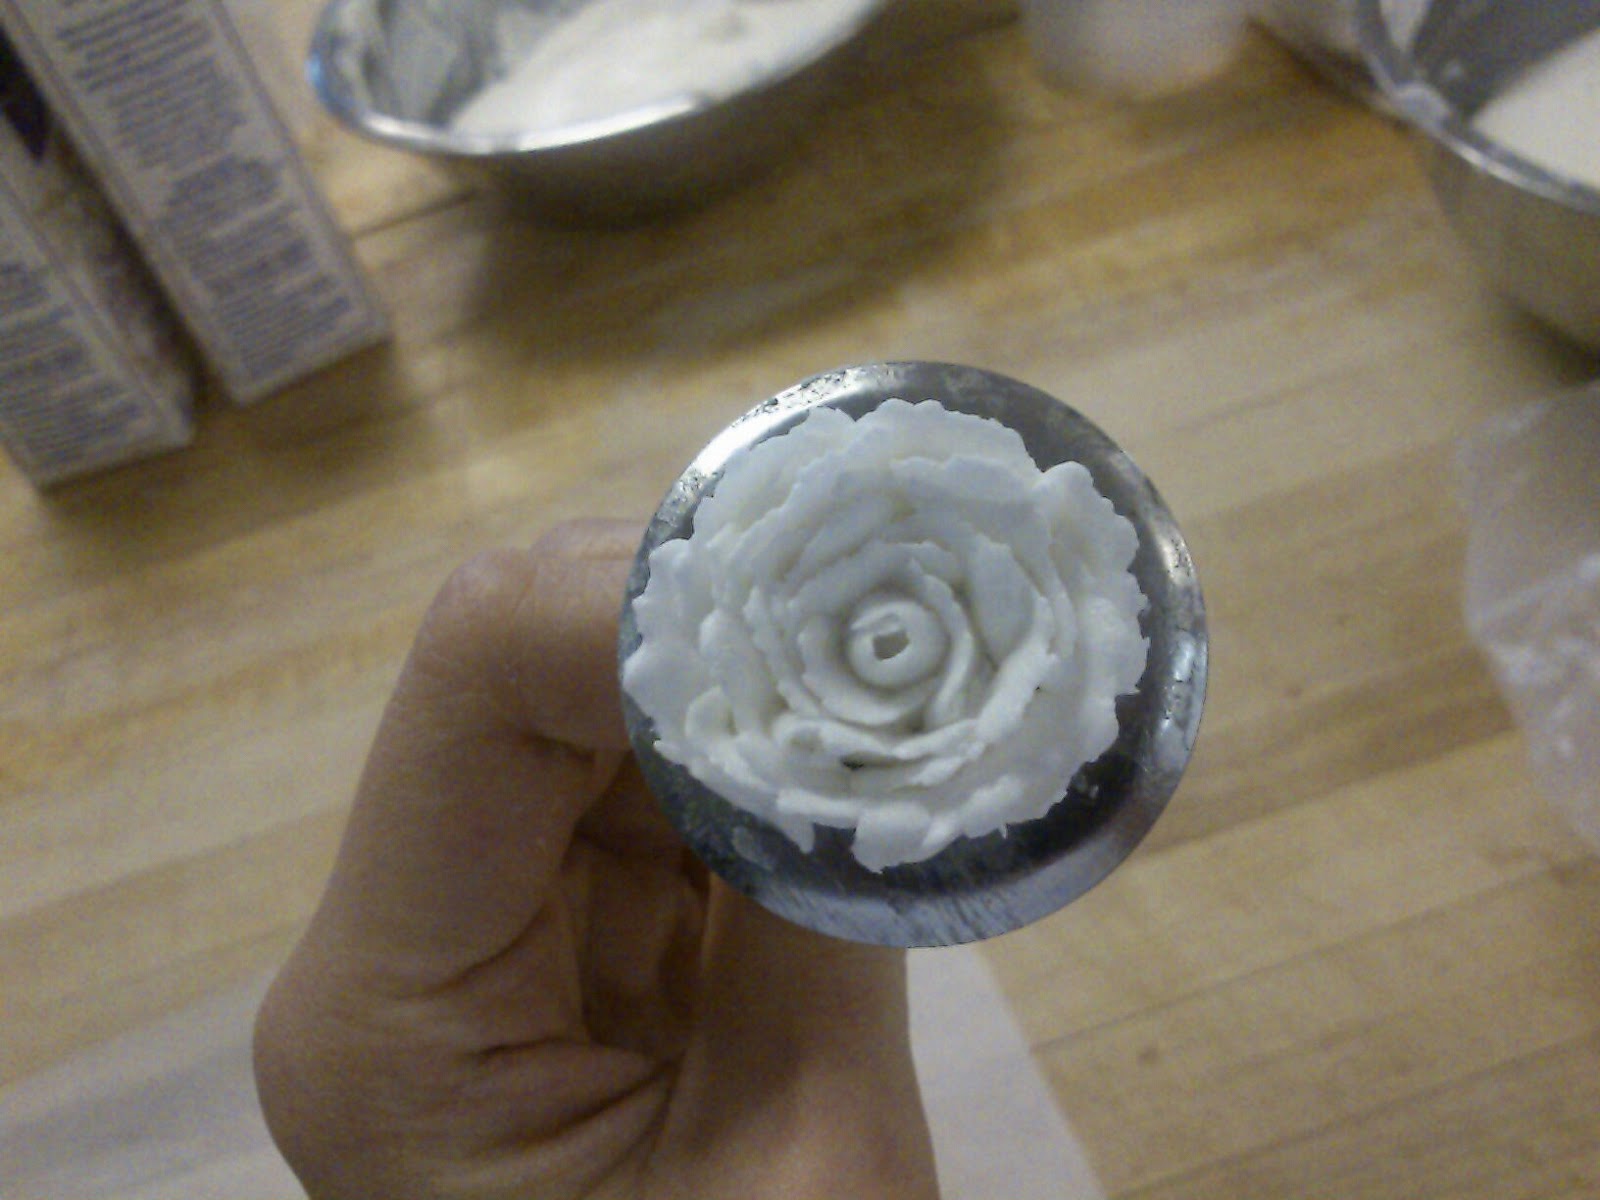 |
| Lots of petals |
 |
| Practice roses |
While I was practicing piping yesterday I heard some male voices talking beside me. Wondering who that was since the only male in our class is the Chef and that was certainly not his voice, I looked up and was surprised to see two cooks from the class next to us were staring over my shoulders. The cooks next to us are currently taking a basic baking course and we share the ovens. We also send food back and forth. A deliciously awesome deal if I say so myself. :D
 |
| Raisin cinnamon scone with cherry and whipped cream filling |
 |
| Sweet glazed pork |